Introduction
I think that having a website is great for anyone whether it’s advertising your personal portfolio or creating a blog (like me!) My website is just a culmination of all the things that I enjoy in life from art to math and it’s a little passion project of mine. On top of that, it’s really easy to begin whether you can code or not! Of course, there are templates on Squarespace but there is something personal about coding your own website from scratch.
Learning HTML and CSS
So HTML and CSS by itself is pretty easy, but I used the book “HTML & CSS” by Jon Duckett. This was an incredible book, and it made learning it so easy because it was very visual. Each page had one sentence max and it wasn’t loaded with 50 sentences of content for a simple command. It got to the point and it made HTML & CSS very accessible. I’m convinced that every book about a coding language should be made exactly like this and then more people would actually enjoy coding.
You can learn along the way since most of the commands that you’ll need you can easily find on w3schools or Stackoverflow where I found cool functions like the header changing color when you hover over it.
Overall, HTML & CSS isn’t hard to learn, you just need to practice it (project based learning!).
Hosting the Site
You have to download the code onto your Github so that you can see the Github environment to see when your changes get published. To Git Push your changes you have to select the source control icon on the side and then select Sync Changes. It’ll ask you for a message to put that will appear in your Github main page. Usually I make silly simple messages like “new blog lolol” or “math facts bro” since I don’t have many folllowers on my Github.
You will also have a local host, where you can see changes that you made actively but they aren’t published live time. To activate it, you have to make a command with your sh key in the terminal. In summary, you won’t embarrass yourself by placing an image in a random spot.
Static Site Generator
Ok, so we have the website made directly from scratch or we have the one made from a static site generator. A static site generator just makes the repetitive task of writing HTML and CSS easier. For example, let’s say that you have 6 different pages on your website and you have a nav bar that you want present on all pages. To insert that, you have to copy and paste that code for the header into each page. Ok, so that doesn’t sound that bad. Although, the bad part is when you have to change a detail in the header, and then you have to change that on all the pages. A static site generator prevents all this so that you can just make your changes in one place and it’ll update on all your pages.
The generator that I use is Jekyll, and I chose this because it’s blog aware. Meaning, that it has a blog template type of thing embedded it’s super easy to download. It takes Markdown files and translates them into webpages, and using Markdown is really efficent and easy to learn along the way.
Of course, there are many other generators, like Gatsby.
Customizing
First, to make the website look nice you need a good background image, but even before that – you need a color scheme. I chose yellow and forest green for my scheme, but any colors would really work. I then chose a bold home screen image on Unsplash where you can use the images royalty free. I’m still working on beautifying this website.
Below is the image I ended up choosing:

Of course, anything beyong that it really free terrain. If you want more interactive aspects, you probably have to utilize Javascript. For example, I wanted to create a scrollable gallery on my Art page and had to use a tad bit of Javascipt (shown below).

There are just so many things to do with a website! Have fun with it.
Google Analytics
If you have a blog (like me) or a project on your website where you want people to look at it – you probably want analytics. This allows you to look where your viewers are from, how old they are, or most importantly, how many you have. It’s really easy to activate. All you have to do is connect your website url to the website, and then you will see all your stats. Below is an example of what my page looks like …
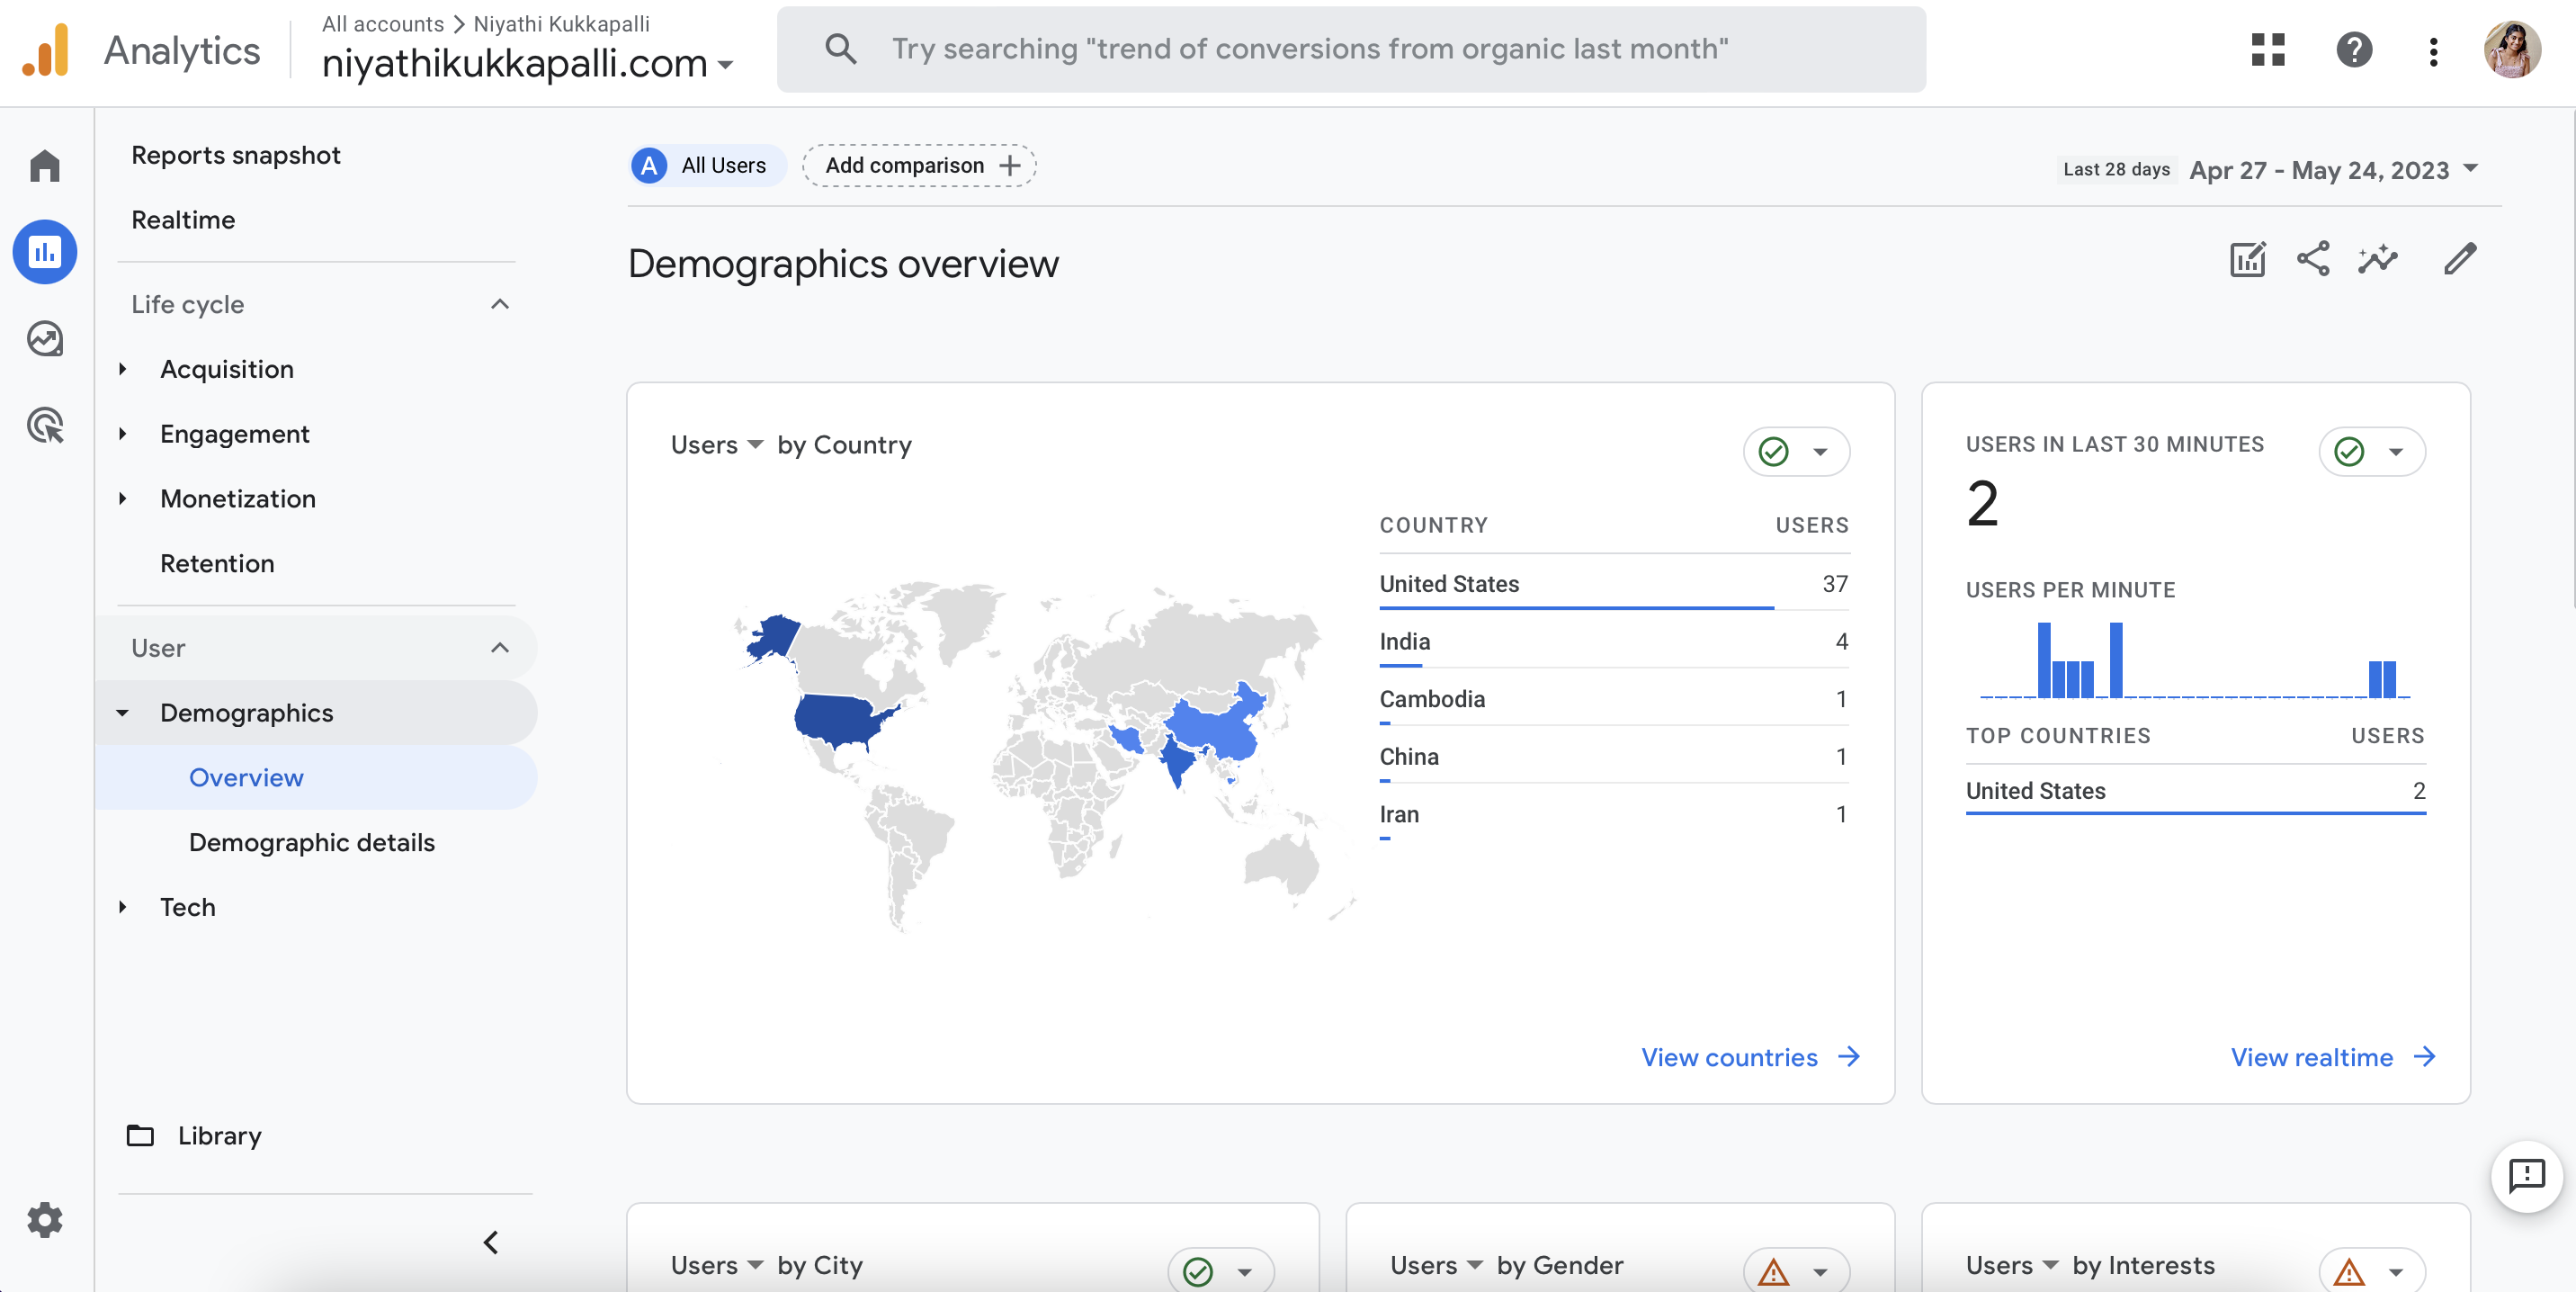
For example, the one that I use the most is the “Reports snapshot” feature which tells you how many users you’ve had in that week and what countries they are from although it’s hard to discern whether they are bots or not; I’ve gotten a lot from Cambodia recently. It’s pretty addicting to look at the analytics and just see who is looking (when someone besides my friends and family looks I get pretty excited).
Final Thoughts
There are a lot of improvements needed for this website, but most of them are aesthetic wise. For example, I would like to make my home page a bit more pleasing to look at. I’m also hoping to figure out a comments section or a reaction system and just overall would like the webiste to look a little more clean.